Personalized Introduction
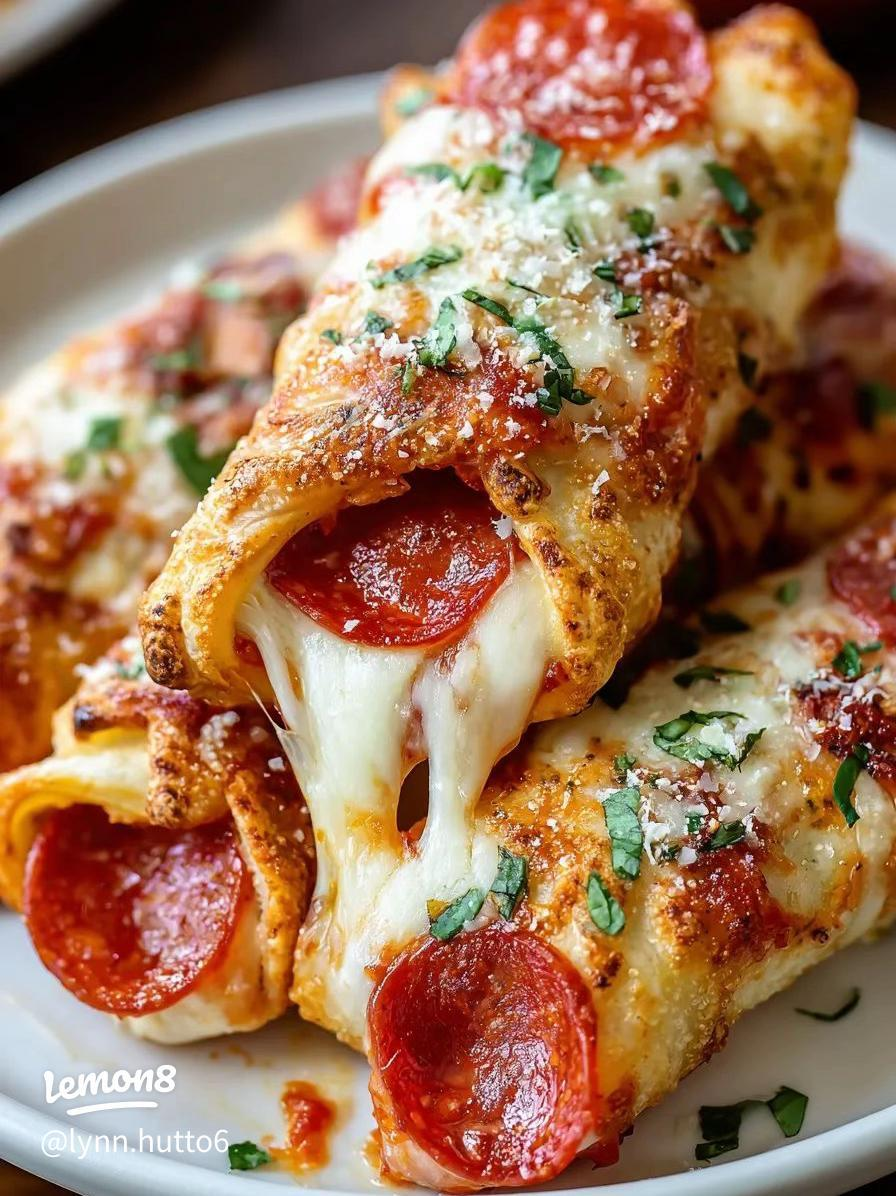
There’s something incredibly fun about homemade Pizza Rolls. They’re everything you love about pizza—gooey cheese, savory sauce, and your favorite toppings—wrapped into warm, golden, bite-sized rolls. They’re crispy on the outside, cheesy on the inside, and dangerously easy to keep grabbing one after another.
I first made these on a weekend when I wanted pizza, but I also wanted something snackable and shareable. Instead of rolling out a full pizza, I turned the dough into little pizza bites, and honestly, they disappeared faster than a whole pie ever would.
Now they’re one of my favorite recipes for movie nights, party platters, lunchbox treats, and quick comfort-food cravings.
Recipe Origin & Story
Pizza rolls are inspired by classic Italian-American pizza flavors combined with the convenience of stuffed bread snacks. Over time, home cooks began turning pizza toppings into roll-ups, pinwheels, and bite-sized snacks that are easier to serve and eat.
This homemade version captures that familiar cheesy pizza flavor but feels fresher, warmer, and far more satisfying than frozen versions.
For me, pizza rolls are one of those playful recipes that bring out the joy of comfort food with almost no effort.
Ingredient Spotlight
- Main Star: :contentReference[oaicite:0]{index=0} — the gooey, melty heart of every pizza roll.
- Flavor Base: Pizza sauce adds tomato richness and familiar pizzeria flavor.
- Classic Add-In: Pepperoni gives salty, savory depth, but the rolls are endlessly customizable.
- Quality Tips: Use low-moisture mozzarella for the best melt without making the rolls soggy.
Nutritional Benefits
Cheese adds protein and calcium, making the rolls satisfying as a snack or quick meal.
Homemade pizza rolls let you control the ingredients, sodium, and portion size more easily than store-bought versions.
Adding vegetables like peppers, mushrooms, or spinach can boost flavor and nutrition without changing the fun factor.
Adaptable Variations
- Dietary Swaps: Use turkey pepperoni, dairy-free cheese, or gluten-free dough if needed.
- Flavor Twists: Try BBQ chicken, buffalo chicken, veggie supreme, or four-cheese fillings.
- Seasonal Spins: In summer, add fresh basil and roasted peppers; in winter, go extra cheesy with garlic butter topping.
Cooking Science Explained
Rolling the dough tightly helps keep the filling inside and gives the pizza rolls their layered spiral shape.
Baking at a high temperature encourages the dough to puff and brown while melting the cheese inside at the same time.
Using low-moisture cheese and not overloading with sauce prevents soggy rolls and keeps the centers perfectly cheesy.
Easy, Step-by-Step Recipe
Ingredients
- 1 tube pizza dough or homemade pizza dough
- ½ cup pizza sauce
- 1½ cups shredded mozzarella cheese
- ½ cup sliced pepperoni (or topping of choice)
- 1 teaspoon Italian seasoning
- 1 tablespoon olive oil or melted butter
- 2 tablespoons grated Parmesan cheese (optional)
- 1 tablespoon chopped parsley (optional)
Instructions
- Preheat oven to 375°F (190°C) and line a baking tray or grease a baking dish.
- Roll out the pizza dough into a rectangle on a lightly floured surface.
- Spread pizza sauce evenly over the dough, leaving a small border around the edges.
- Sprinkle mozzarella cheese over the sauce.
- Add pepperoni or your chosen toppings.
- Sprinkle with Italian seasoning.
- Roll the dough tightly into a log, starting from the long side.
- Slice into even rounds, about 1 inch thick.
- Place the rolls cut-side up in the baking dish or on the tray.
- Brush tops with olive oil or melted butter.
- Bake for 18–22 minutes, or until golden brown and bubbly.
- Sprinkle with Parmesan and parsley if desired, then serve warm.
Practical & Valuable Tips
- Storage: Store leftovers in an airtight container in the fridge for up to 3 days.
- Serving Ideas: Serve with extra pizza sauce, ranch, or garlic butter for dipping.
- Substitutions: Swap pepperoni for cooked sausage, mushrooms, olives, or bell peppers.
Make-Ahead & Batch-Cooking
You can assemble the pizza roll log ahead of time, refrigerate it, and slice/bake when ready.
Pizza rolls also freeze beautifully after baking—just reheat in the oven or air fryer for best texture.
They’re perfect for meal prep, after-school snacks, or party trays because they reheat so well.
Eco-Friendly Kitchen Hacks
- Use leftover pizza toppings or cheese to reduce food waste.
- Bake multiple trays at once if making a big batch.
- Store leftovers in reusable containers instead of disposable bags.
- Repurpose extra pizza sauce as a dip or pasta sauce base.
Pairing Suggestions
- Beverages: Sparkling lemonade, iced tea, soda, or fruit-infused water.
- Sides & Sauces: Marinara sauce, ranch, Caesar salad, or garlic butter dip.
Frequently Asked Questions
-
Can I make pizza rolls in the air fryer?
Yes, air fry at 350°F (175°C) for about 8–10 minutes, depending on size. -
Why are my pizza rolls soggy?
Too much sauce or high-moisture cheese can make them soggy—use both sparingly. -
Can I freeze them before baking?
Yes, freeze sliced rolls on a tray first, then transfer to a container and bake from frozen. -
What dough works best?
Pizza dough works best, but crescent dough or puff pastry can create fun variations too.
Call to Action
I hope you try these Homemade Pizza Rolls soon. They’re cheesy, fun, and perfect for snacking, sharing, or satisfying a pizza craving in a more playful way.
If you make them, I’d love to hear your twist. Did you go classic pepperoni, veggie-loaded, or extra cheesy? Share your version and inspire other home cooks.
Bonus: Your Kitchen Notes
Use this space to jot down your favorite fillings, sauces, or baking times. Once you make them once, it’s easy to turn pizza rolls into your own signature snack.
Sometimes the best comfort food is just pizza—rolled up, baked golden, and made easy enough to enjoy anytime.